- Heat the milk to about 90 degrees F. (Cow temperature less a few degrees that the dairy maids would have lost in transport anyway.
- Infect the milk with some cultured buttermilk. (mesophilic lactobacillus) These would have been native to the cow's teats and since the period milk wouldn't have been pasteurized, the bacteria wouldn't have needed to have been re-added. (Wait 60 minutes for the bacteria to get going in the new environment.)
- Here's where we start picking up the period steps. We add our rennet. I did not use Markham's rennet recipe, because I think it's nasty. I used double strength vegetable rennet. Not period, but chemically very similar to calf rennet, which I have also used. Very little difference in final product.
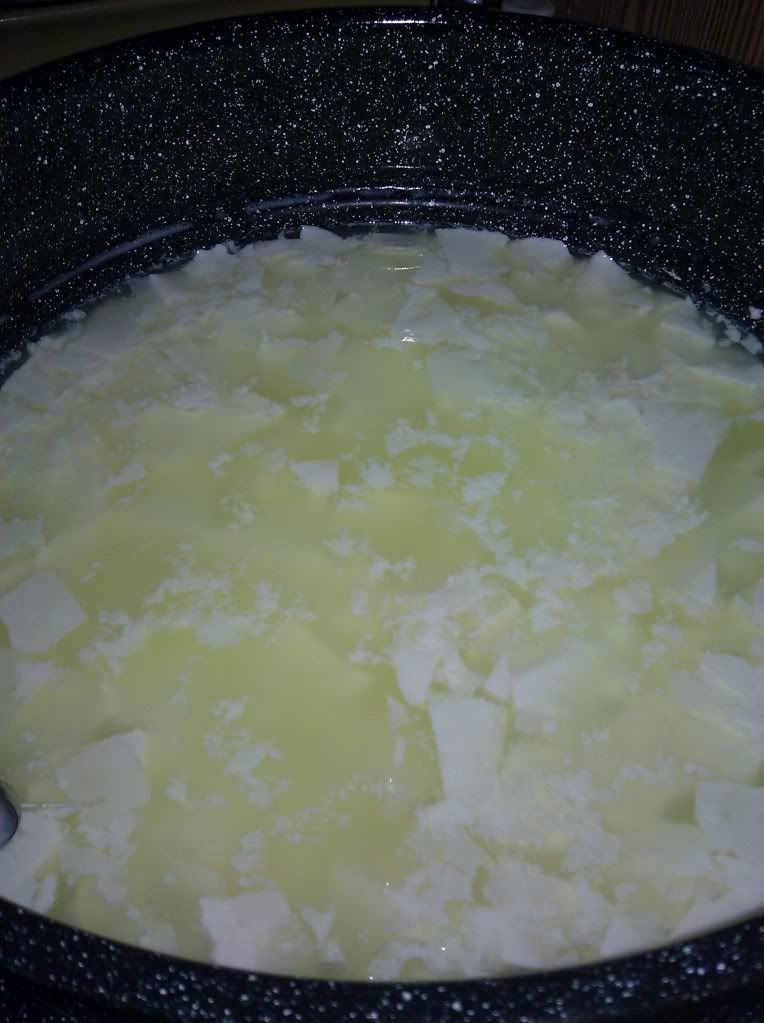
Hand stirred curd. - After 45 minutes, I cut the curd. After cutting it, I gave it 15 minutes to heal, and then I gave it a stir with my bare, washed hand.
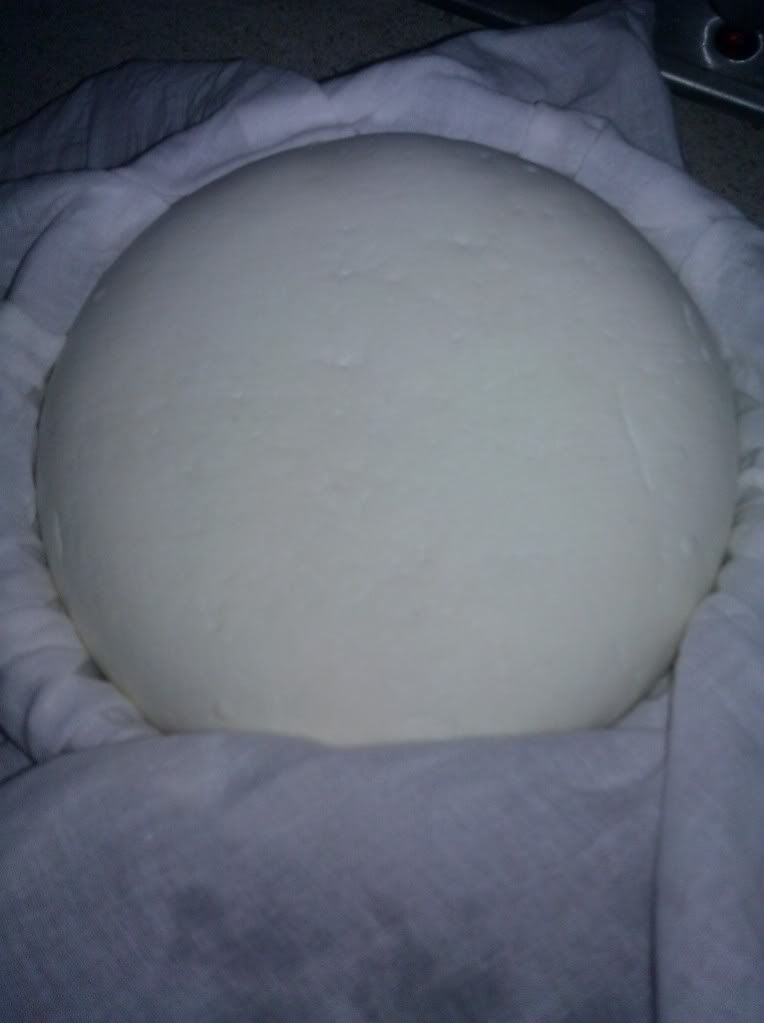
- Then my instructions said to let the curd settle and press it to the bottom of the pot with my hands, and then scoop off as much whey as possible with a shallow dish. This seemed horrendously inefficient (typical non-cooking-person cooking instructions), so I placed a piece of sterilized cheese cloth on top of the curd, and scooped out the whey that seeped through the cloth. It's MUCH easier to do this way without losing curd. The picture shows what my curd looked like after I'd scooped off about a gallon of whey - which I set aside for a dessert experiment... (Chocolate brunost, per Deja's request.)
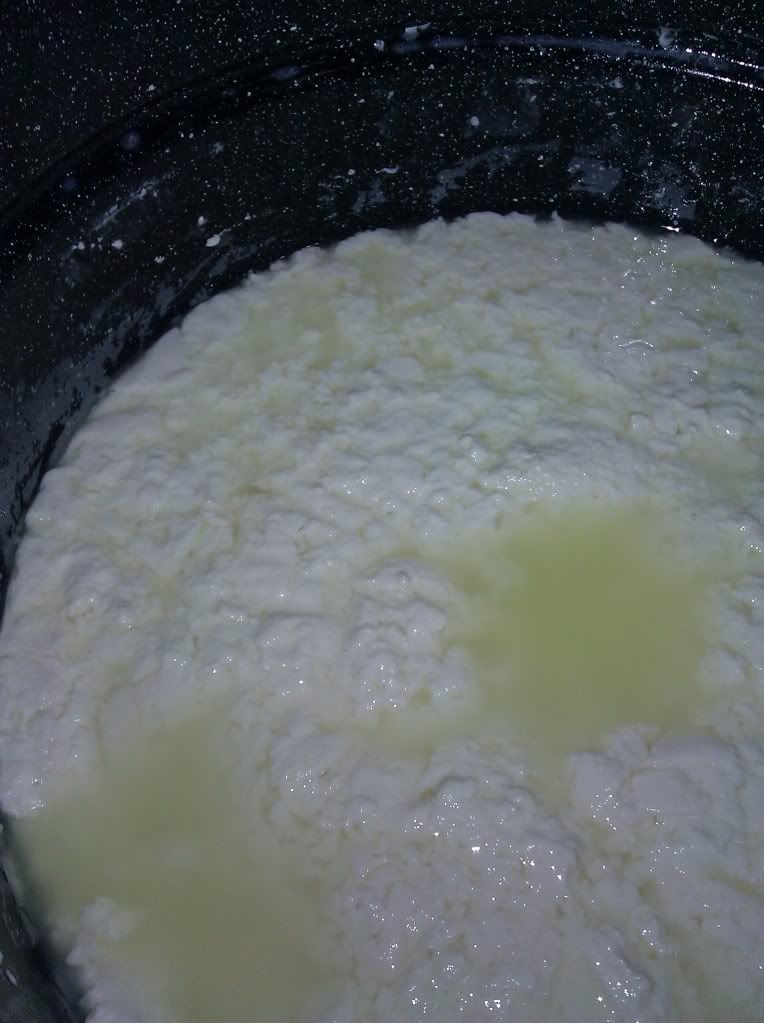
Curd mass after light pressing
by hand - The next step involved carefully scooping the curd mat into the "mold" and pressing it under a light weight. I scooped the curd mat into a piece of cloth on a screen strainer, because I didn't have a basket to scoop my curd into as the initial mold. I folded the cloth over the top of the curd and pressed it gently but firmly with my hands. After about 30 minutes of fussing, the curd was much more firm and ready for the press.
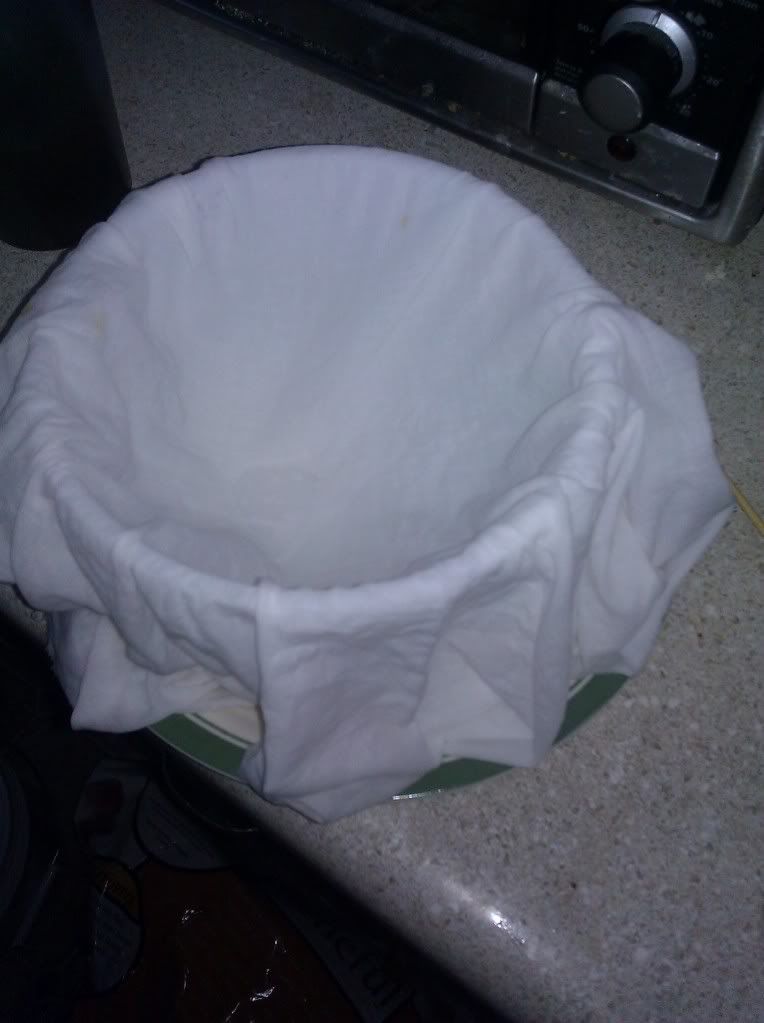
Mould lined with damp
cloth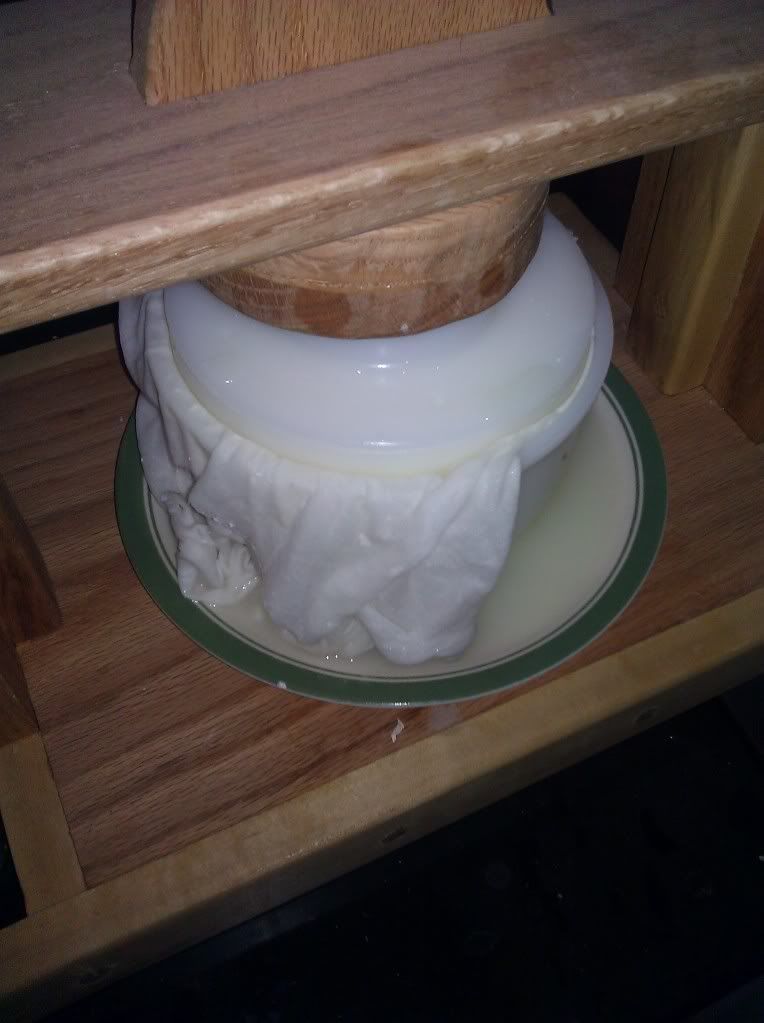
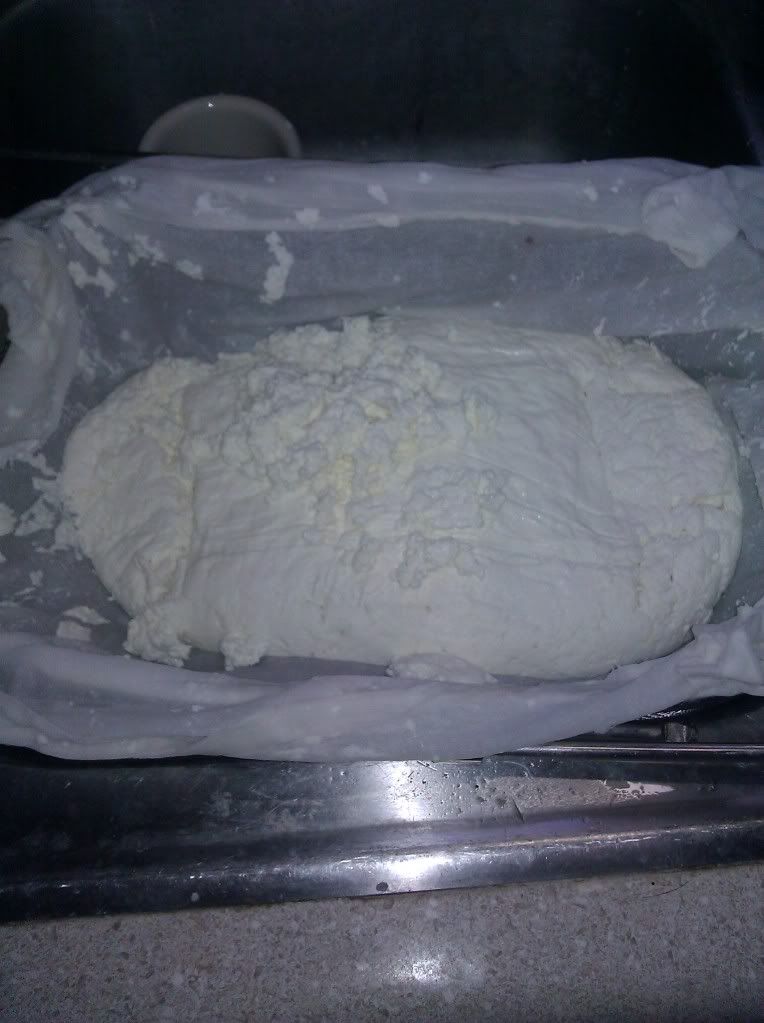
Mould with curd in the
press - Then my directions say to turn out the curd into a clean cloth that has been dampened with cool water and press it in my big press. Here are the mould dressed with a wet cloth, and the curd in the great press:
Curd flipped into a new
dry cloth. - Following these steps, I am meant to wait for 30 minutes, and then turn out the curd into a dry cloth and return it to the press. This cloth should be exchanged 5-6 times for a new clean, dry cloth in the next 24 hours, each time the cheese is flipped and returned to the press.
- Tomorrow, I shall return the cheese to the press in the mold with no cloth and leave it there for about twelve hours.
- After I remove the cheese from the final pressing, I need to rub it in salt and start the curing process...
Saturday, November 5, 2011
Markham's Cheese In Practice:
Everything starts out "normal" with this cheese... Which is to say that we have to do a couple of steps to bring pasteurized milk back to a state similar to the one that Markham's milk maids would have gotten from milking a cow and taking milk directly to the dairy.
Thursday, November 3, 2011
Period Apples:
Rosemarion sent me some period apples from an orchard near her that specializes in them! Last night, I finally got 'round to coring and deworming them so that they can eventually be pressed into cider and made alcoholic.
 The flavor of these apples was similar to that of a MacIntosh or crab apple, but less tart than the MacIntosh and sweeter than crab apple. The meat of the apples was a bit peculiar in that it looked in many places as though the core wasn't sure it wanted to be contained to the center of the fruit.
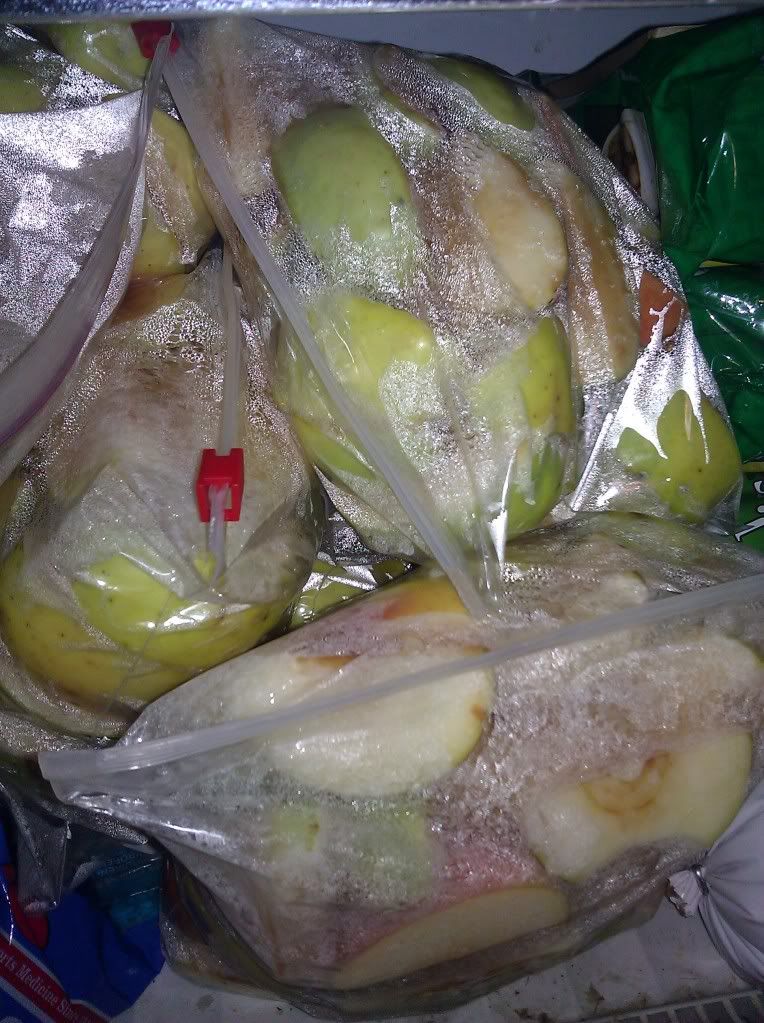
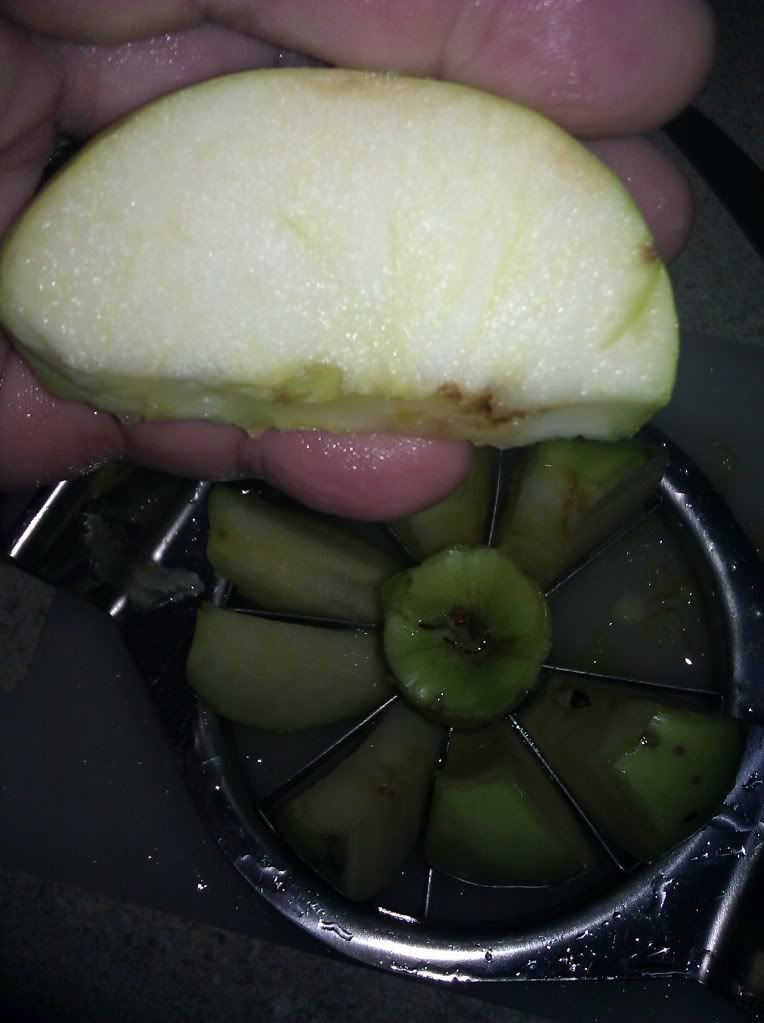 I took a picture, but sadly, the specks of oddness don't appear to be showing up very well. I ended up getting about 4, 1 quart ziplock bags and a bit extra cored and stuffed in the freezer. Freezing the fruit will break down the cell walls and allow me to extract more juice once pressing time comes. Miss Chelsea and I are investing in an antique fruit press/sausage stuffer, which I should be able to use to press the juice out of these apples once my primary fermenter is empty again.
The description on these lovelies per the orchard is as follows:
Calville Blanc d'Hiver (1598) Antique variety from France, where it was grown in the king's gardens at Orleans; one of the premier gourmet apples, still served for dessert in the finer Parisian restaurants; tart, strong, distinctive flavor
Wednesday, November 2, 2011
I know! Let's make a tent!
As you know, I never have enough to do in my copious spare time as a new mother. Thus, I'll be making myself a new bedouin style tent for local camping. The reasons (And following that, design specs...) I am setting aside my pavilion are as follows:
That's how I settled on the ouled nail (ooled nayal) bedouin tent design that Elizabeth and Krystal used for their tents. The tent will essentially be a giant rectangular tarp with one 4' long ridge pole supported by two 7' long two by two's and 16, 4' long wall poles. There will also be about 6 front and back door poles of various lengths from about 7' to 4', but I'll figure out those lengths when I "get there."
- It doesn't fit in my car very well with it's 18, 6 foot long poles, weirdly shaped ridge pole, and square center pole.
- I can't put it up by myself.
That's how I settled on the ouled nail (ooled nayal) bedouin tent design that Elizabeth and Krystal used for their tents. The tent will essentially be a giant rectangular tarp with one 4' long ridge pole supported by two 7' long two by two's and 16, 4' long wall poles. There will also be about 6 front and back door poles of various lengths from about 7' to 4', but I'll figure out those lengths when I "get there."
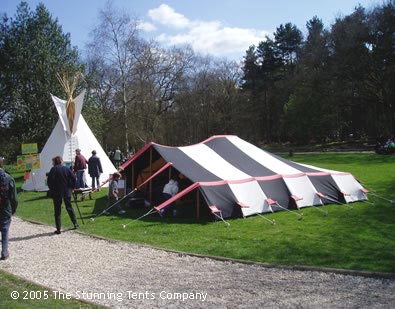
Above is an example of an ouled nail style tent. I intend to have similar striping in my canvas, only my stripes will be alternating white and pumpkin colored, and the pumpkin color will also be used for the tension bands (triga) that you see on the example tent in red.
Last night I cut my pumpkin colored sunforger. (I think they refer to this color as "khaki," but srsly... it's pumpkin.) I have the following pieces:
- 3, 28"x330" tent panels.
- 1, 12"x268" central triga band
- 2, 8"x268" wall triga bands
- 4, 12"x36" false triga bands
- 12, 8"x15" stake bands (every wall seam)
- 4, 4"x15" stake bands (outer edge)
I've held off on cutting the stake bands to length until the artwork that I've commissioned for this tent is delivered. Once I have it, I'll be able to figure out how long I really want my stake bands to be to fasten it to the tent securely, center the art, and have enough band left to attach the dowel at the bottom of the stake band.
Tuesday, November 1, 2011
Columella and Markham Cheese Process in My Own Modern Shorthand:
Columella Process
•After curd formation transfer curd into baskets to remove whey. (Similar to brie/camembert draining process.) Once sufficient whey has been extracted to make the curd more solid, press under weight.
•Remove from molds and rub with salt. Let rest overnight.
•Press under more weight.
•Rub with more salt.
•Press under more weight.
•After 9 days, rinse thoroughly with warm water.
•Age.
Markham Process
•After curd formation stir “well” and “diversely.”
•Press curd to the bottom of the pan and remove as much whey as possible from the top. (Similar to Gouda curd mat formation.)
•Press curd into the mold, breaking up the curd mat with hands as you go. Press under a small amount of weight for a couple hours.
•Turn out curd onto a wet cloth and press under a greater weight for a half hour.
•Flip cheese into a dry cloth and press under a greater weight for 24 hours, changing the cloth 5-6 times for a new dry cloth.
•Press for 24 hours.
•Press for 12 hours with no cloth
•Rub with salt. And let it rest for 24 hours.
•Wipe down with a clean cloth, rub with salt, flip and let it rest for 24 hours.
•Rub down daily with a clean cloth and keep an eye on it to make sure it doesn’t dry out too fast.
Subscribe to:
Posts (Atom)